Mount a drive to your computer
The Mount this drive command in the web interface lets you mount contents of a drive on VisualDrive Server to your computer. Mounting happens using the OneDrive sync app.
After mounting a drive, you can work with it directly in File Explorer and all changes to the files are automatically synchronized.
See Syncing files and folders for more details.
When should I manually mount a drive?
With VisualDrive Server, the IT administrator usually configures your personal drive and specific shared drives to mount and sync automatically on your computer.
Manually mounting a drive is only necessary if your administrator has not configured automatic sign-in for the OneDrive app, or if you want to mount a specific shared drive that has not been automounted.
If you’re unsure, contact your administrator for assistance.
How to manually mount a drive
Follow these steps to manually mount a drive on your computer:
- Obtain the server URL from your administrator.
- Open the server URL in your web browser to access the VisualDrive Server web interface.
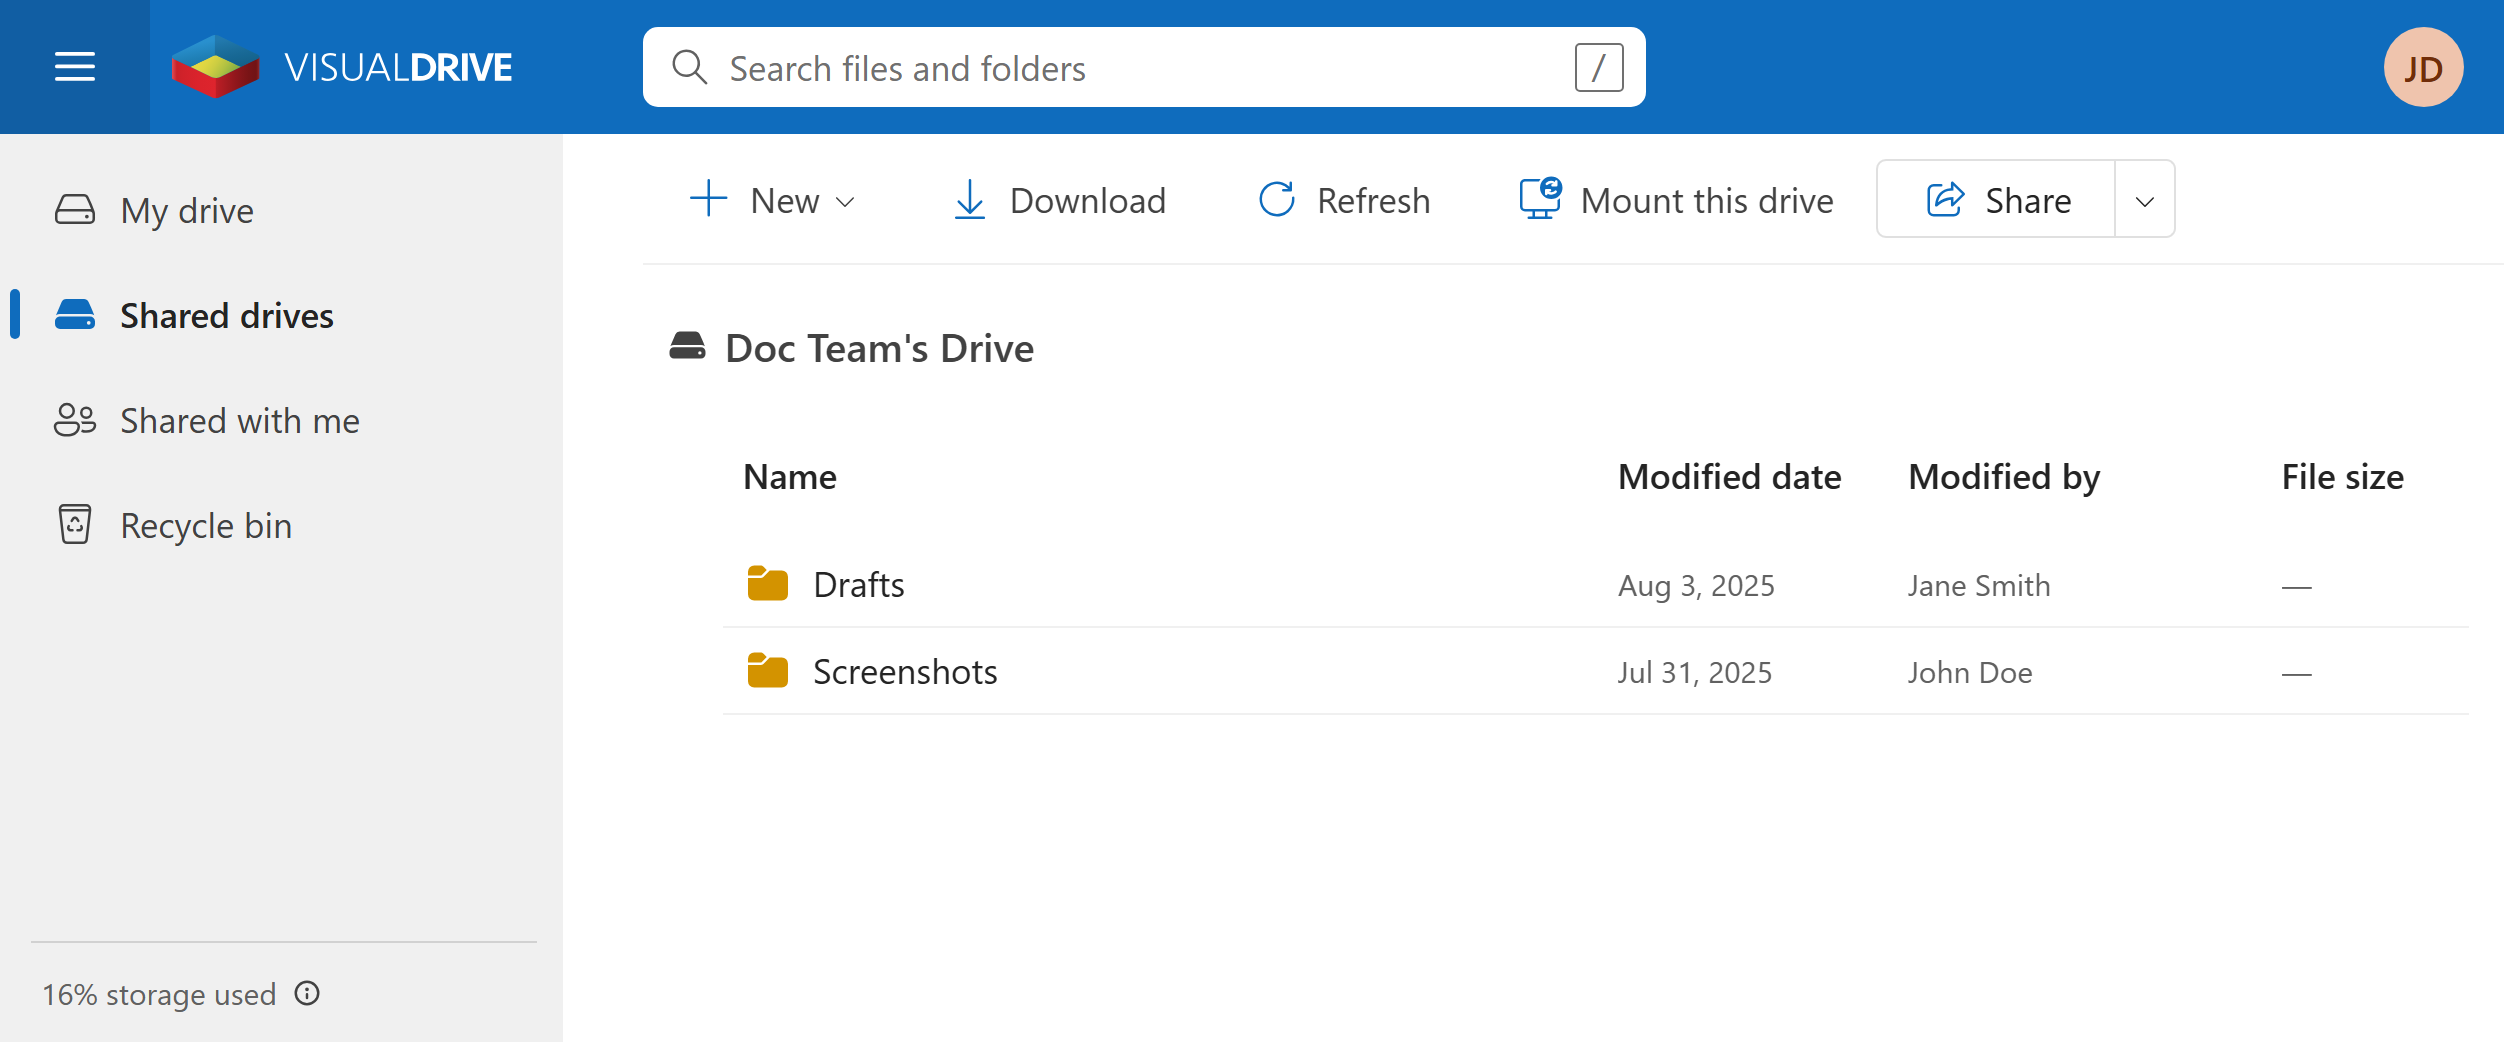
- In the web interface, find and open the drive you wish to mount.
- Click the Mount this drive button.
- A pop-up notification will appear saying “We’re syncing this drive to your computer”.
- Your web browser may ask for permission to open the OneDrive app. Click OK or Allow.
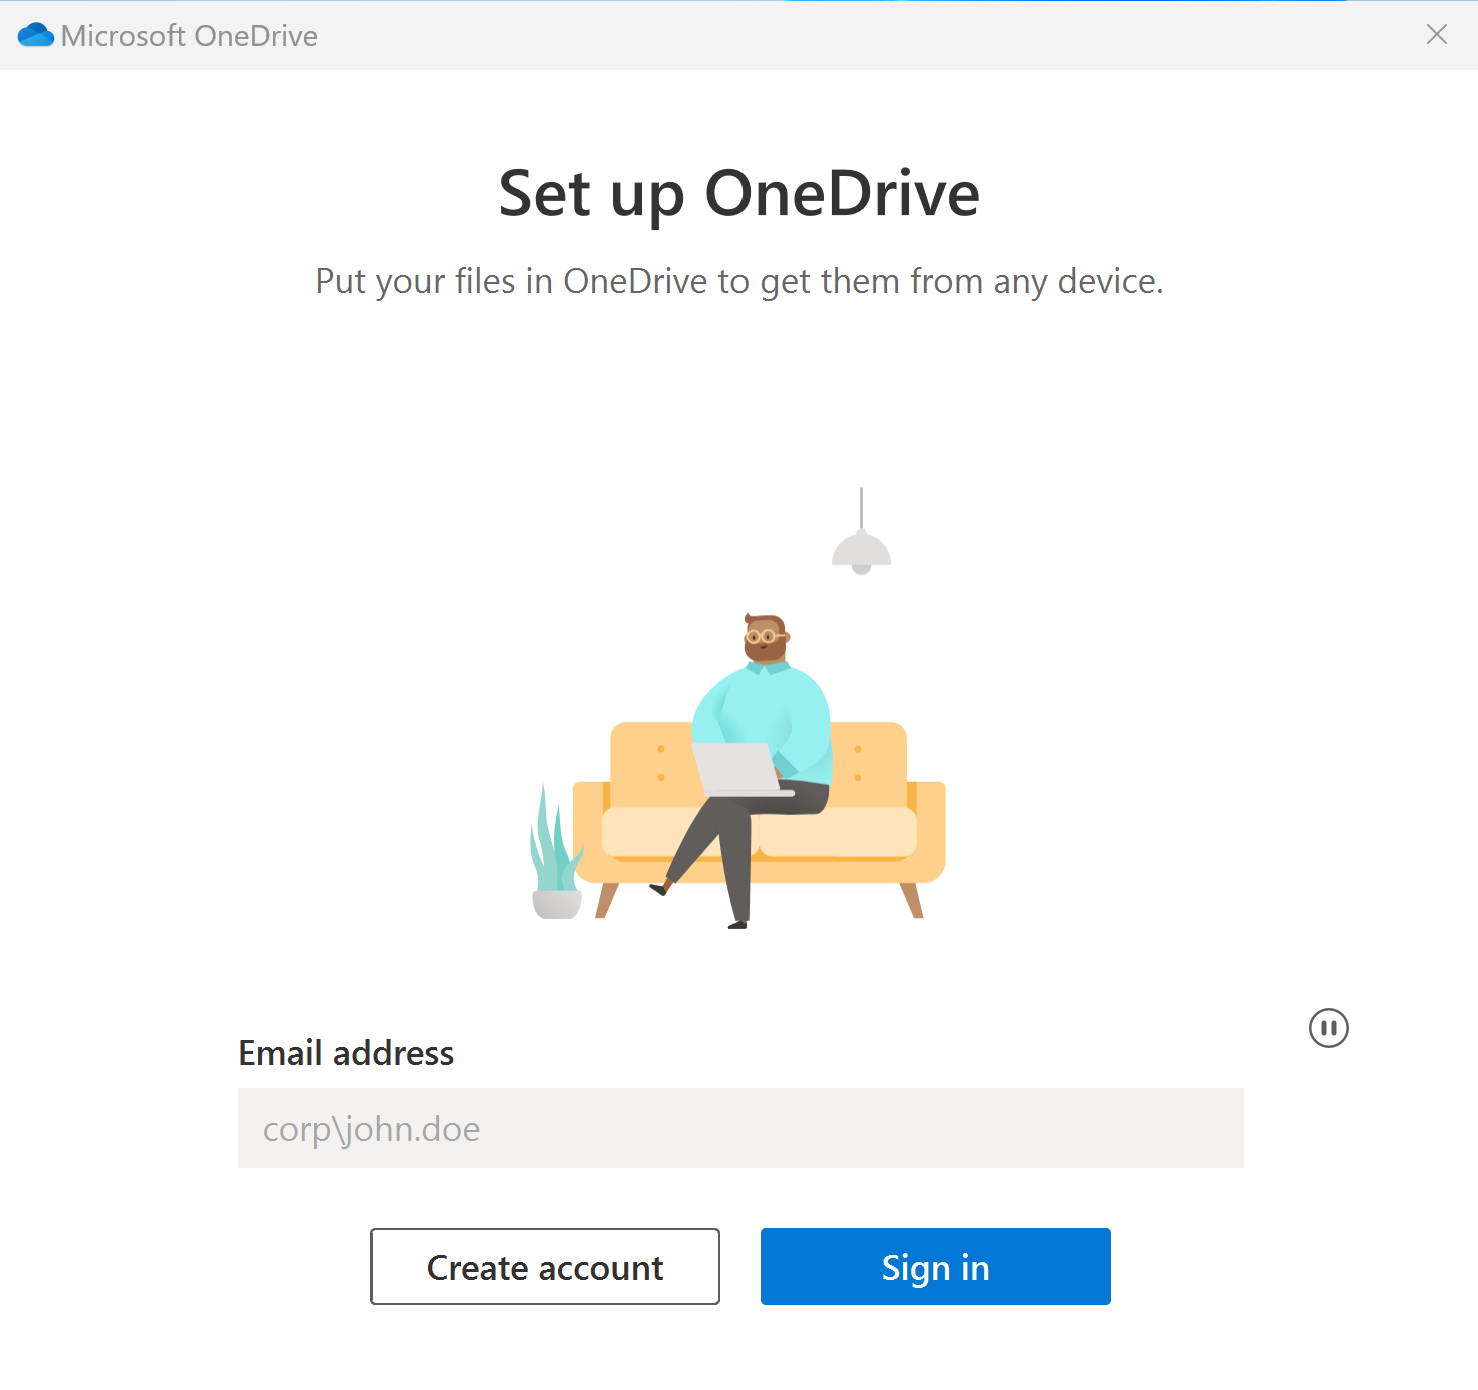
- If this is the first time you’re mounting a VisualDrive Server drive to your computer,
a Set up OneDrive window will appear with your username pre-filled. Click Sign in.
- The selected drive will begin to sync. All files and folders on that drive that you have permission to view will now be available in File Explorer.
If some of these steps do not work as expected, see Issues when mounting a drive.
How mounted drives appear in File Explorer
The way your mounted drive appears in File Explorer depends on whether it’s a personal drive or a shared drive and on the name of your organization. The organization name is configured by your IT administrator.
-
Personal drive
A new folder is created with the following name format:
OneDrive - <Organization Name>
For example, if your organization is “Contoso”, the drive should be located in%USERPROFILE%\OneDrive - Contoso. -
Shared drive
A new folder is created with the following name format:
<Organization Name>\Shared - <Drive Name>
For example, if your organization is “Contoso” and the drive is “Project”, the drive should be located in%USERPROFILE%\Contoso\Shared - Project.
In both cases, the folder is automatically added to the left pane in File Explorer.
You can see all the drives currently mounted to your computer in the OneDrive app’s settings. To open settings, right-click the blue OneDrive cloud icon in your taskbar, select the Settings gear icon, and then navigate to the Account tab.