Server URL
The Server URL is used by the clients to connect to VisualDrive Server. It specifies the server’s location on the network and is provisioned to the clients via the Server Advertisement GPO.
It is strongly recommended to configure the Server URL before deploying any Group Policy Objects in your environment.
Configuring the Server URL
Follow these steps to configure the Server URL:
-
Open VisualDrive Server Manager.
-
In the Initial configuration section, click Configure Server URL to launch the wizard.
-
Skip the Overview page of the wizard.
-
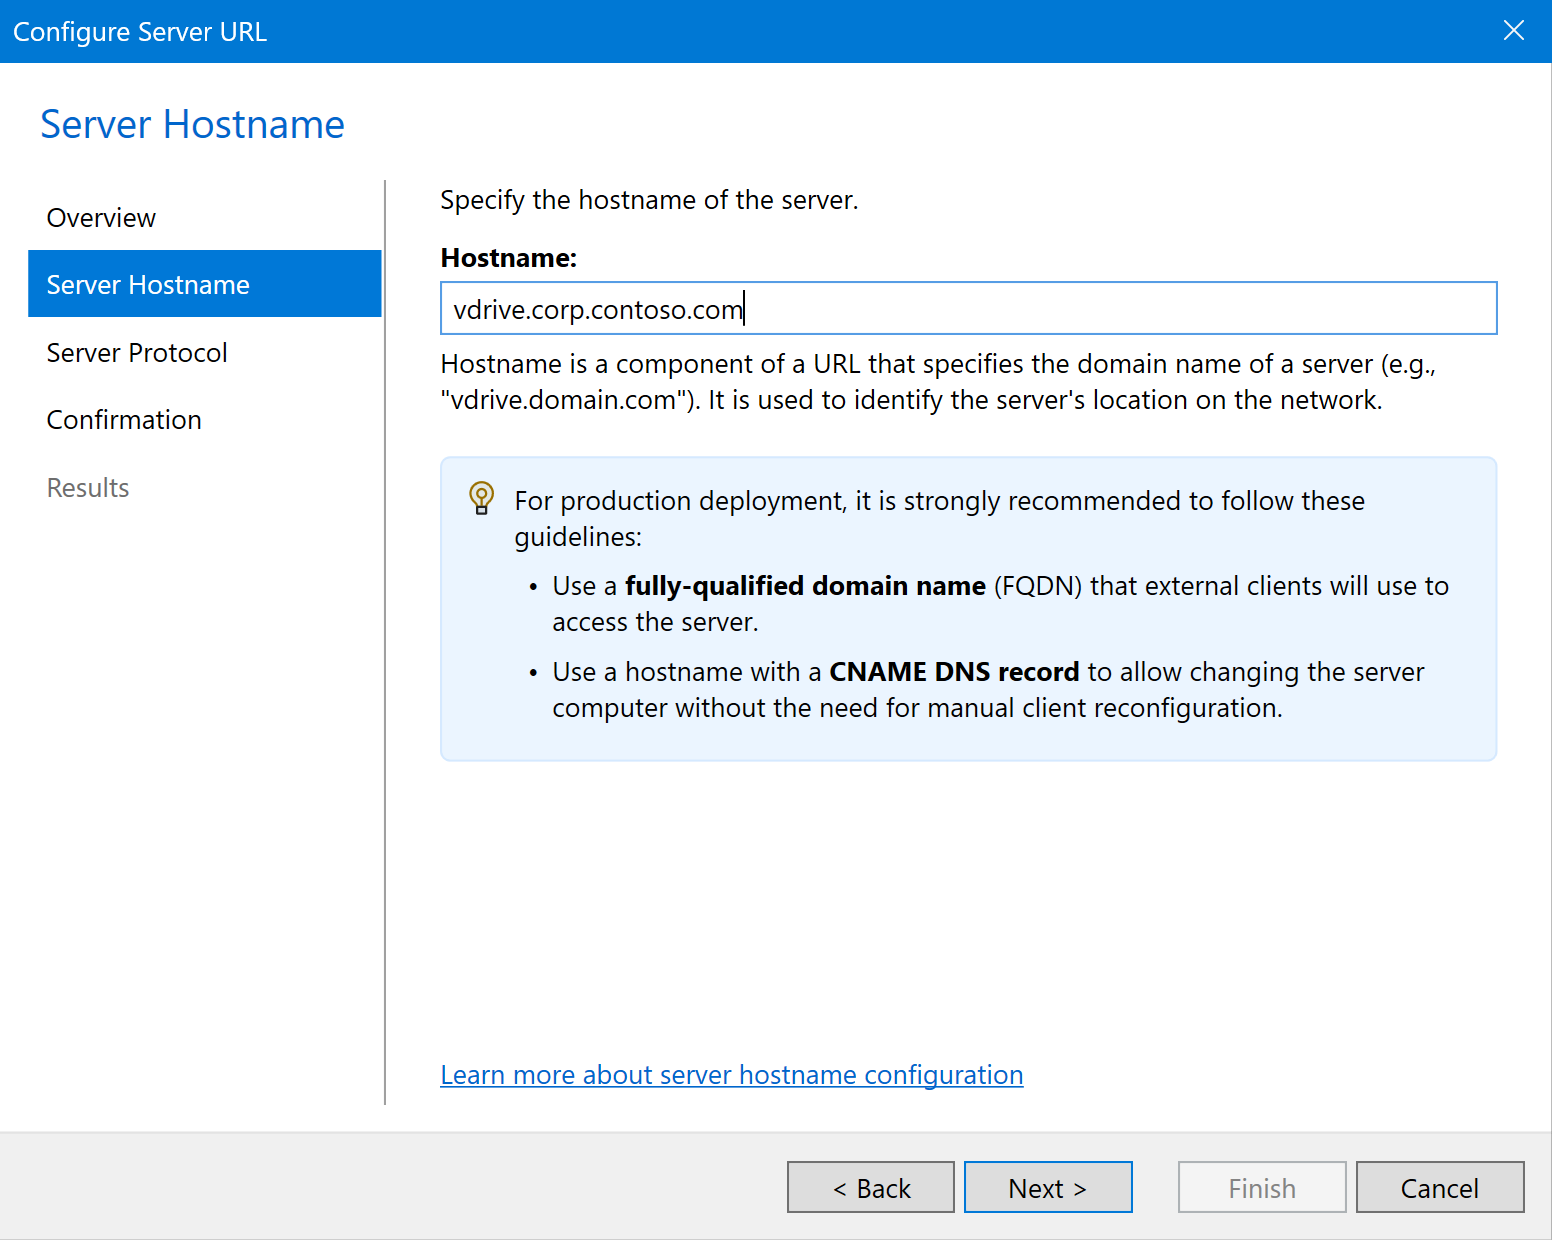
On the Server Hostname page, enter the fully qualified domain name at which users will access VisualDrive Server:
-
In a production environment, specify the DNS alias that meets the DNS name requirements.
For example:vdrive.corp.contoso.comHow to create an appropriate DNS alias for the computer name
To create a DNS alias using CNAME record for the server computer in Windows DNS, follow these steps:
- GUI
- PowerShell
- Open the Start menu, select Windows Administrative Tools → DNS.
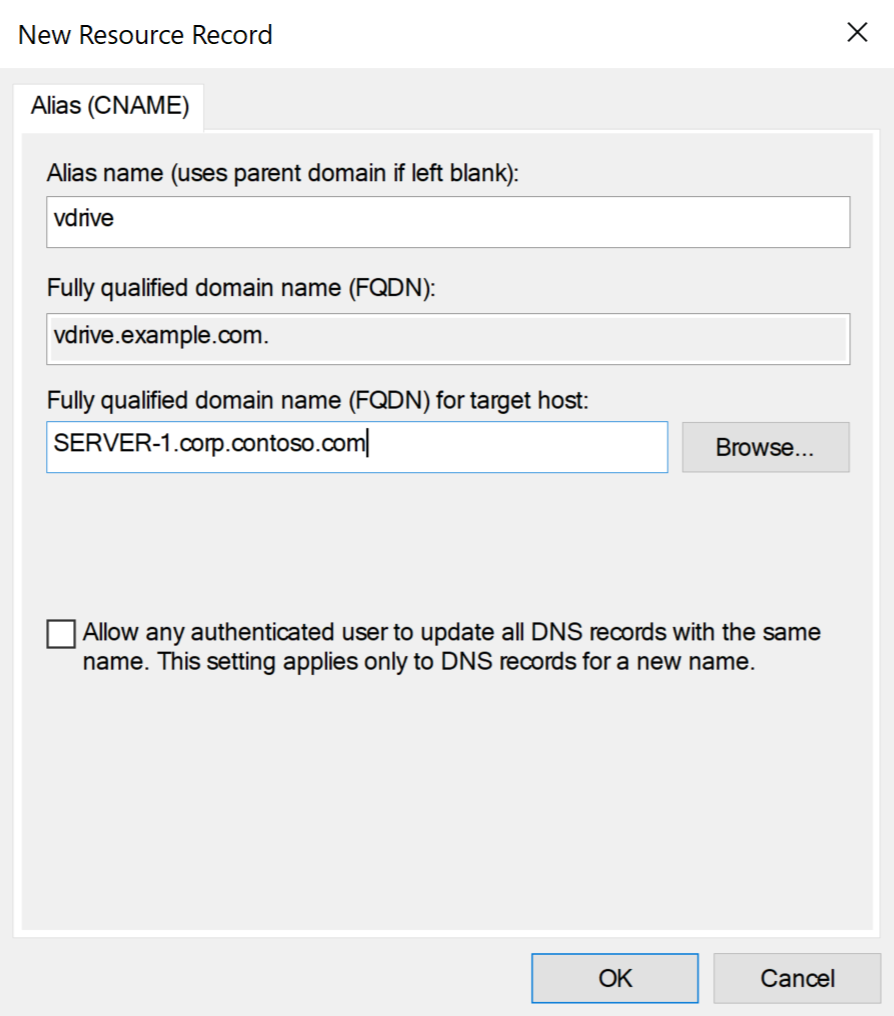
- In the console tree, connect to the DNS server you wish to manage, expand the DNS server, expand your Forward Lookup Zone, right-click, then select New Alias (CNAME).
- On the New Resource Record screen, specify the alias name and FQDN for the target host. For
example,
vdriveandSERVER‑1.corp.contoso.com. - Select OK to create the resource record.
Run the following command that uses the
Add-DnsServerResourceRecordCNamePowerShell cmdlet, replacing the example values:Add-DnsServerResourceRecordCName `
-Name "vdrive" `
-ZoneName "corp.contoso.com" `
-HostNameAlias "SERVER‑1.corp.contoso.com"For more details, see How to configure a DNS alias in Active Directory environment.
-
In a test environment, you can leave the default hostname.
If the wizard determines that the specified hostname is not an appropriate DNS alias, you’ll see a notification saying No CNAME records found. In a test environment, you may ignore it and continue.
-
-
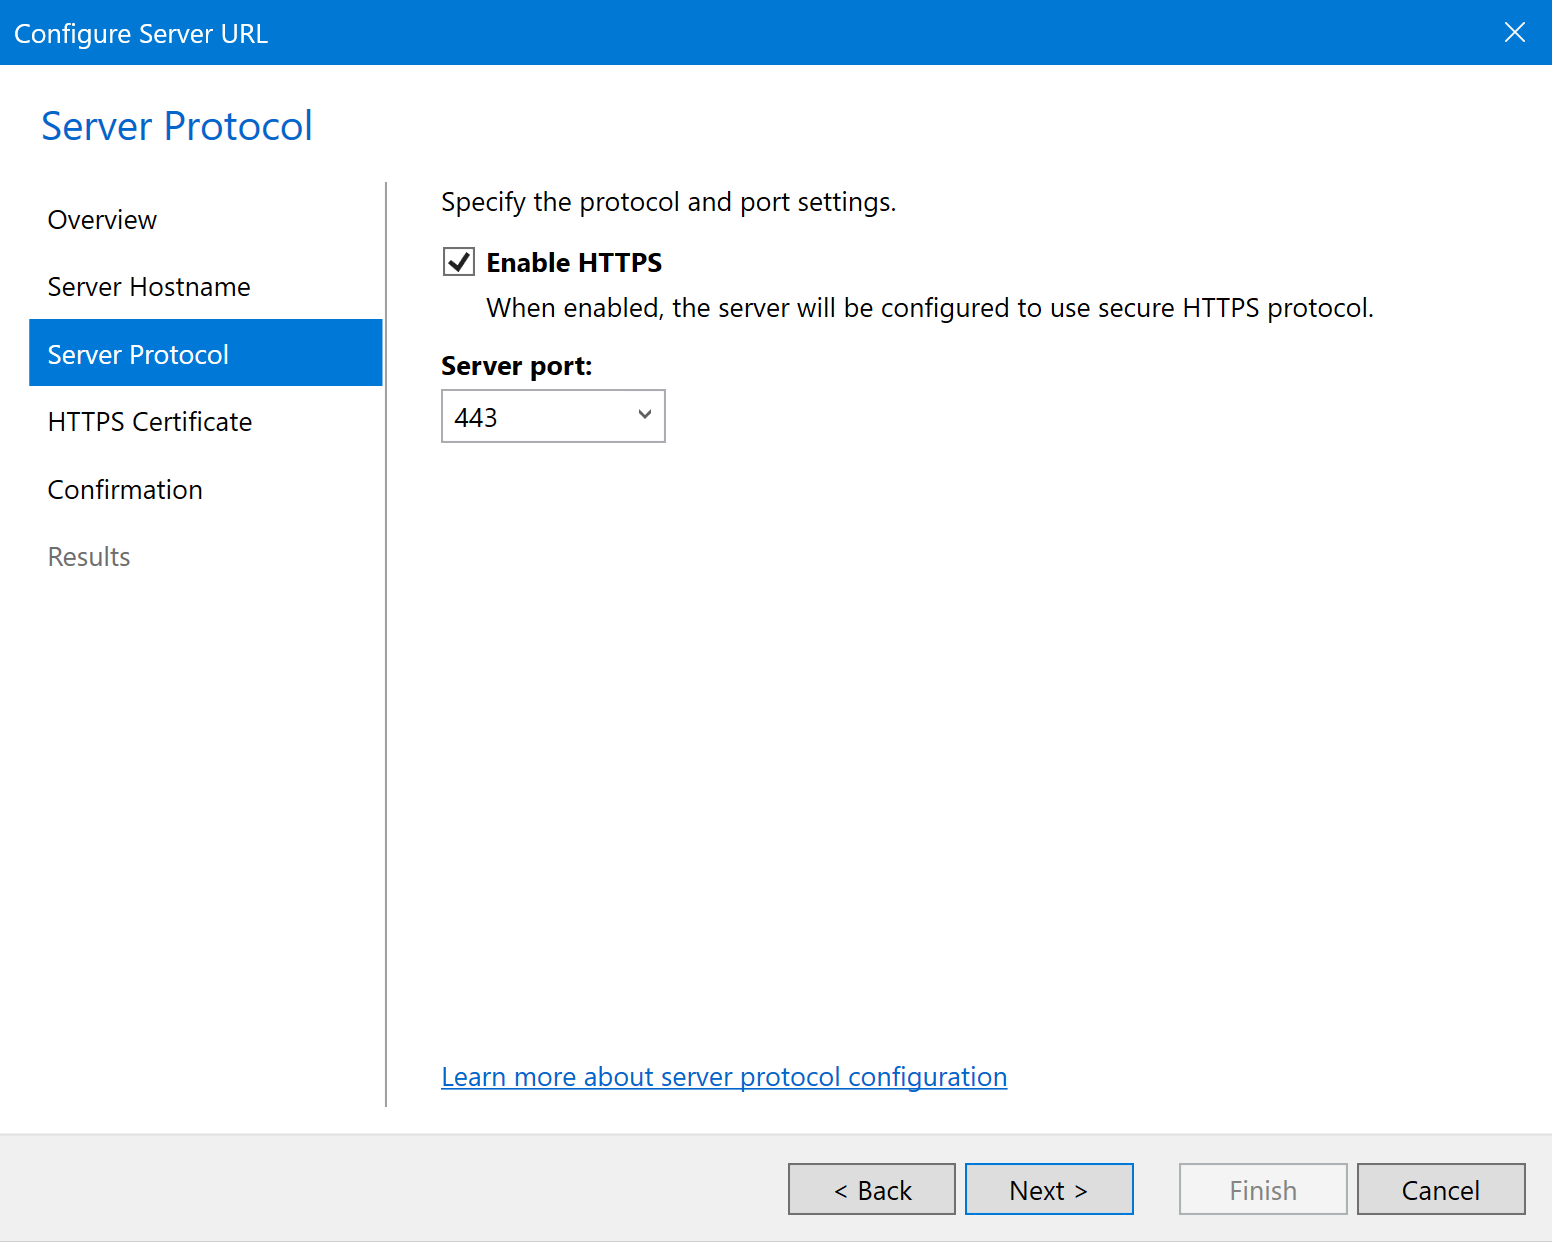
On the Server Protocol page, configure the protocol and port settings:
- In a production environment, select Enable HTTPS.
- In a test environment, enabling HTTPS is optional.
-
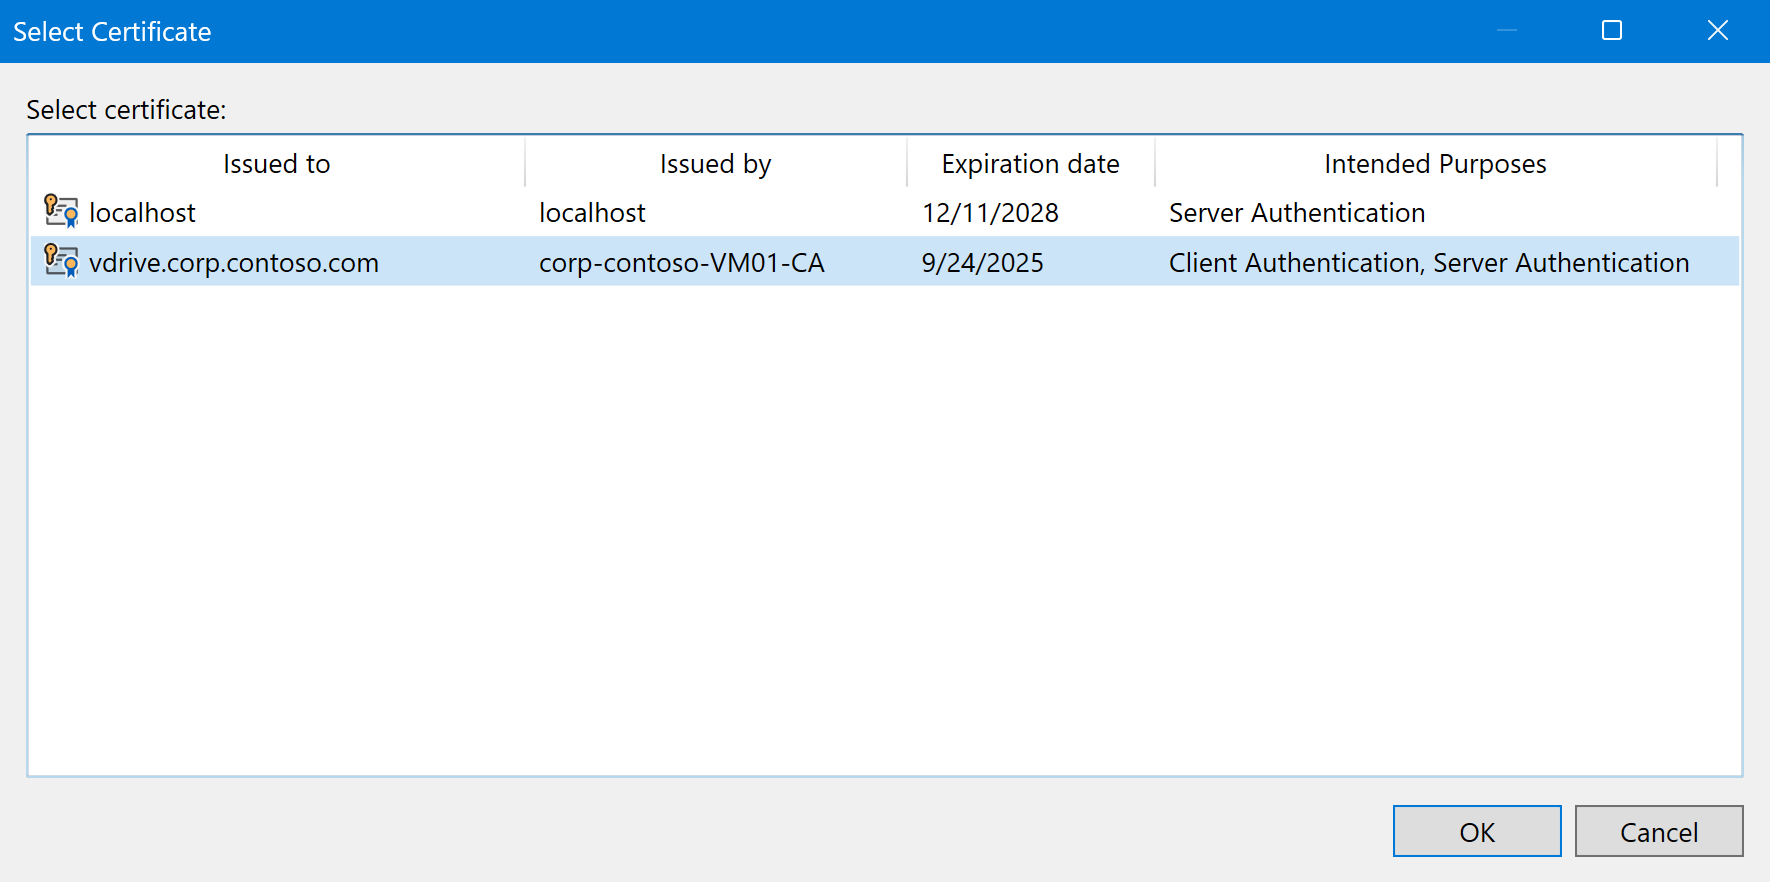
If you enabled HTTPS, then on the HTTPS Certificate page, choose an SSL certificate.
To do this, click Select certificate and pick a certificate that matches the configured Hostname and meets other requirements. The selected certificate must be valid and trusted on the client computers.
How to obtain an appropriate SSL certificate for the server
If your environment has Active Directory Certificate Services (AD CS), you can obtain an SSL certificate right from within the Server URL wizard:
- Click Select certificate → Obtain from Active Directory…
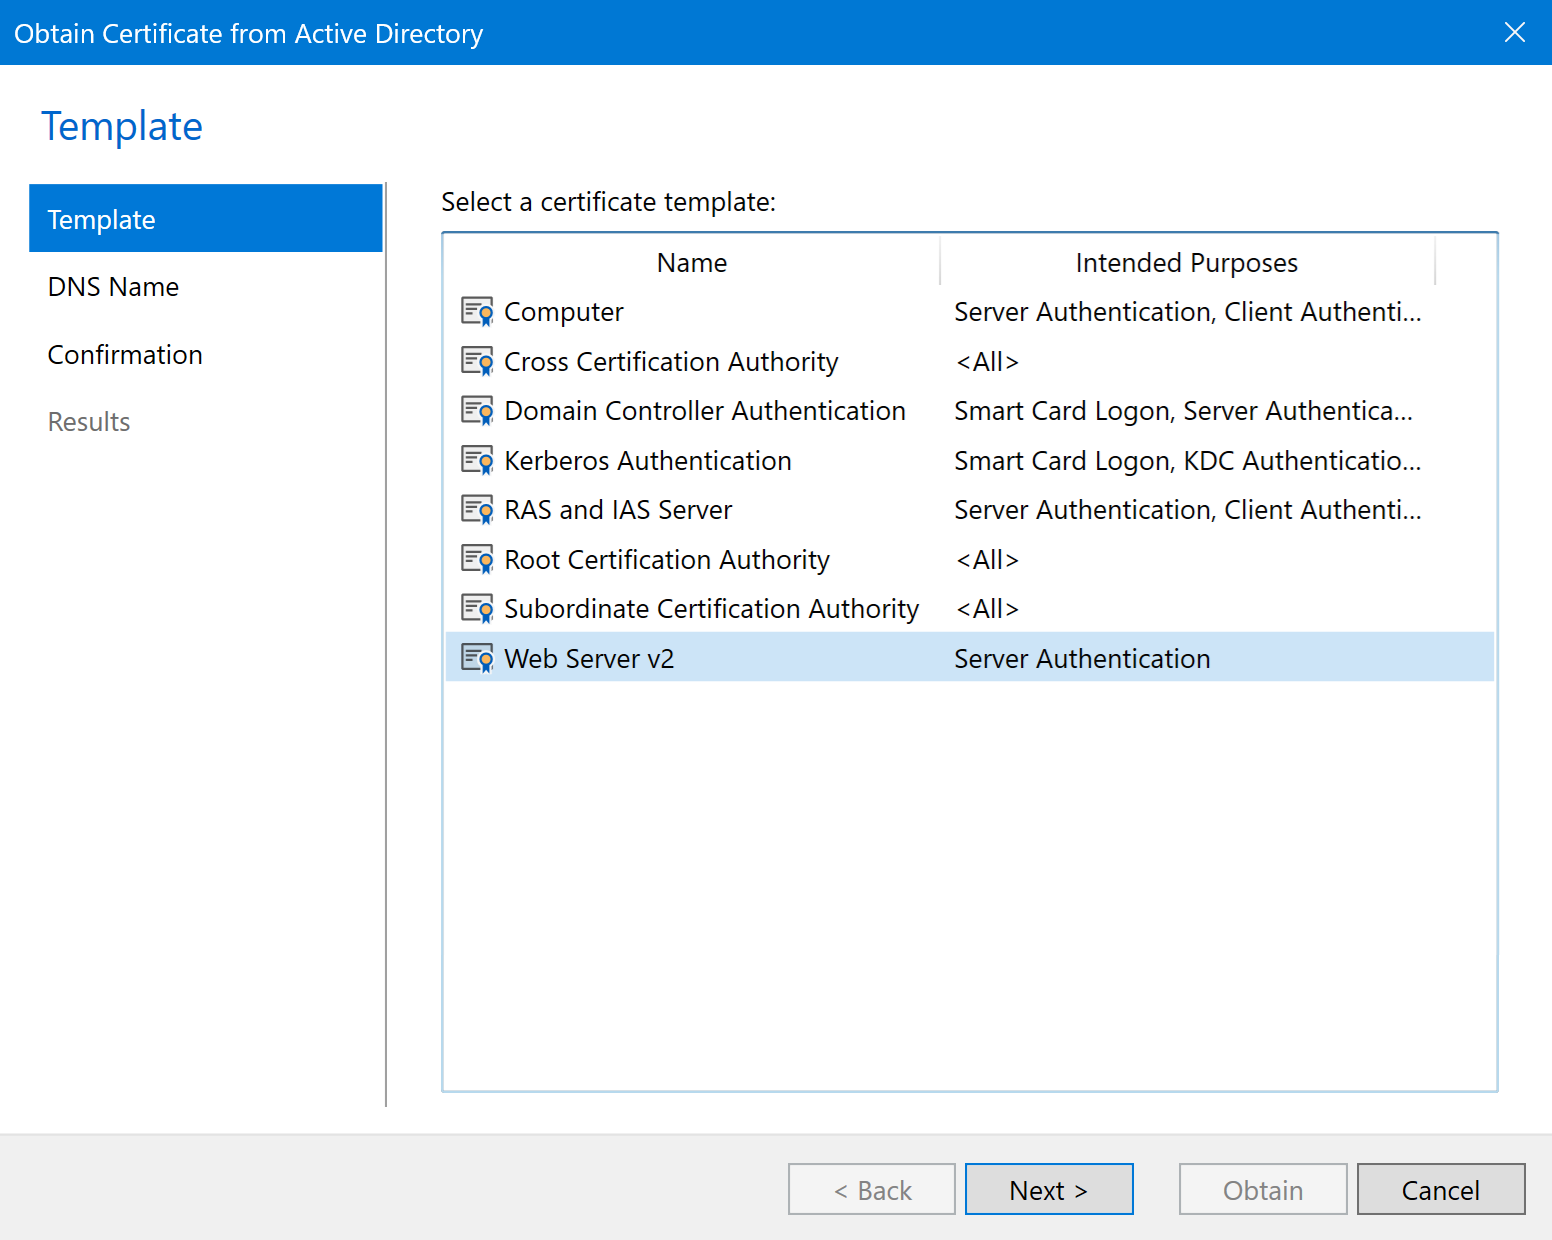
- On the Template page, choose an appropriate template value.
We recommend selecting the most recent version of the "Web Server" template
that’s specific to your environment.
- On the DNS Name page, keep the default value, which matches your Hostname.
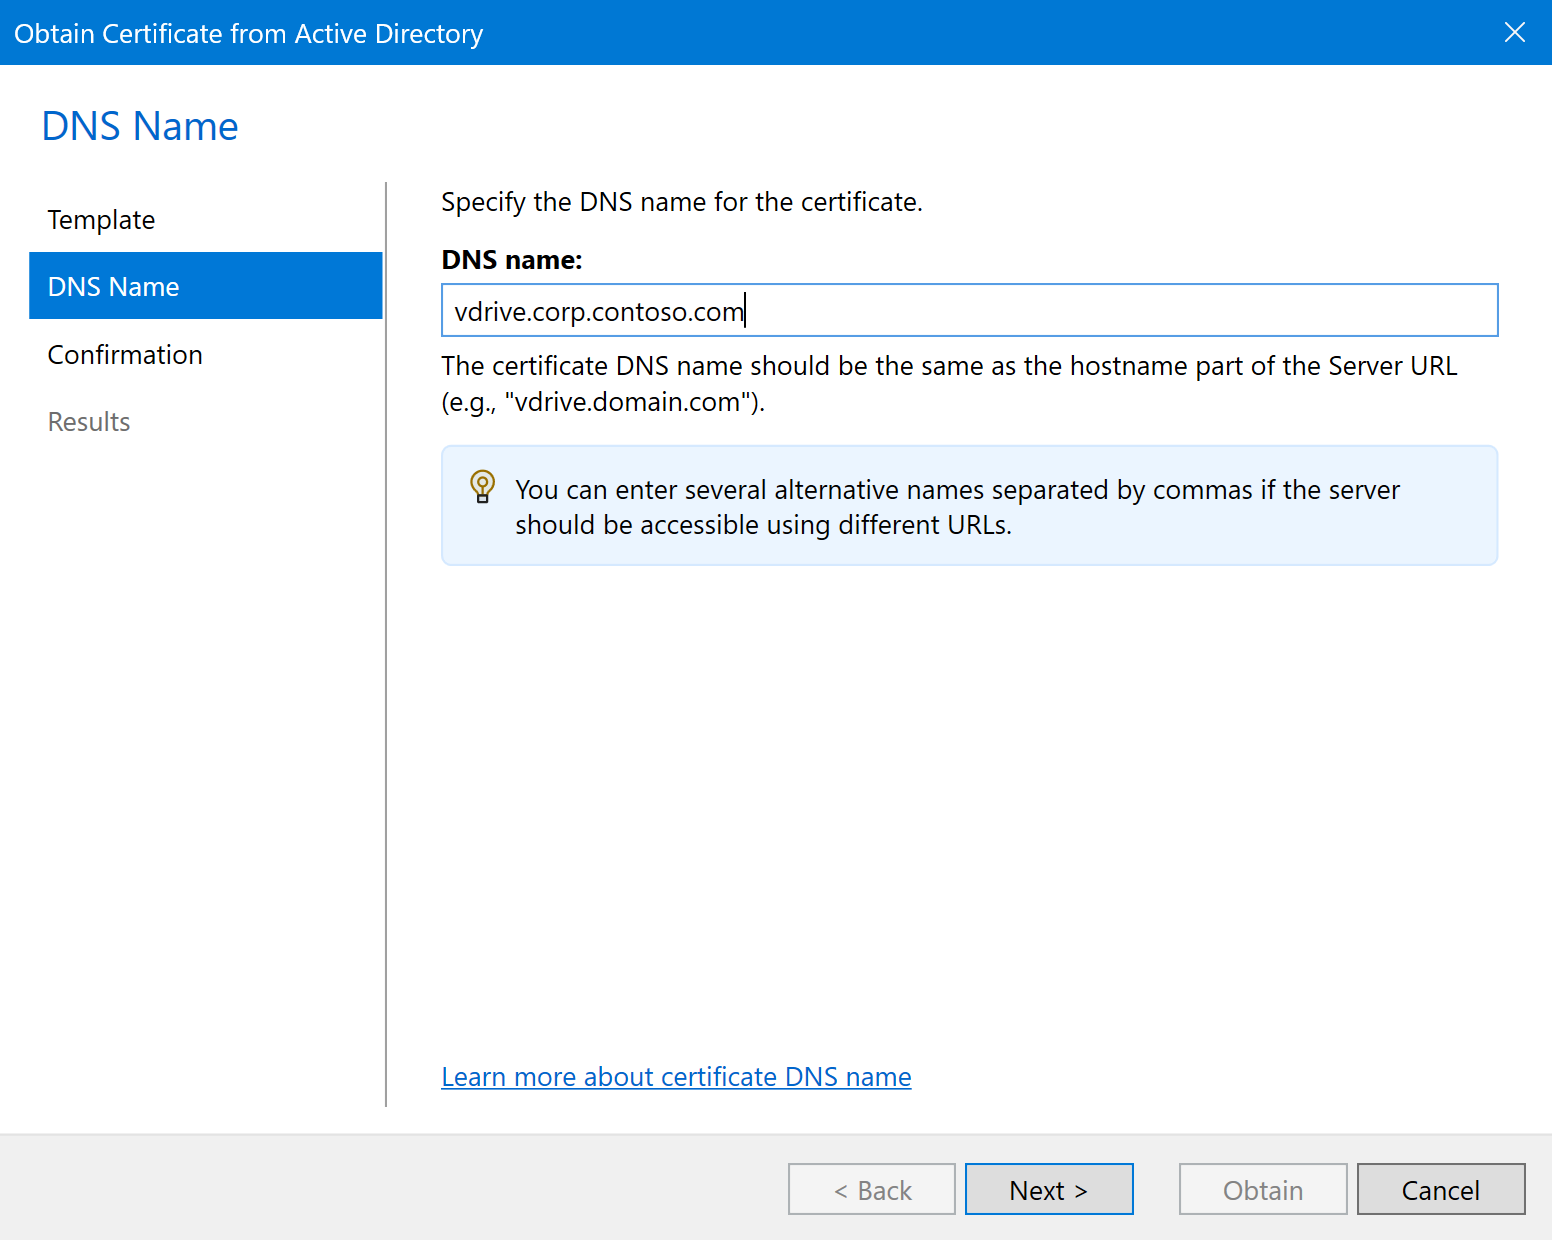
- On the Confirmation page, click Obtain to get the new certificate from AD CS. The certificate will be automatically installed in your local certificate store and selected on the HTTPS Certificate page of the Server URL wizard.
For more details, see How to obtain an SSL certificate in Active Directory environment.
-
On the Confirmation page, review the settings and click Finish.