Install VisualDrive Server
Follow these steps to install VisualDrive Server:
-
Download and run the VisualDrive Server installer from the official download page.
-
On the End User License Agreement page, review and accept the EULA.
-
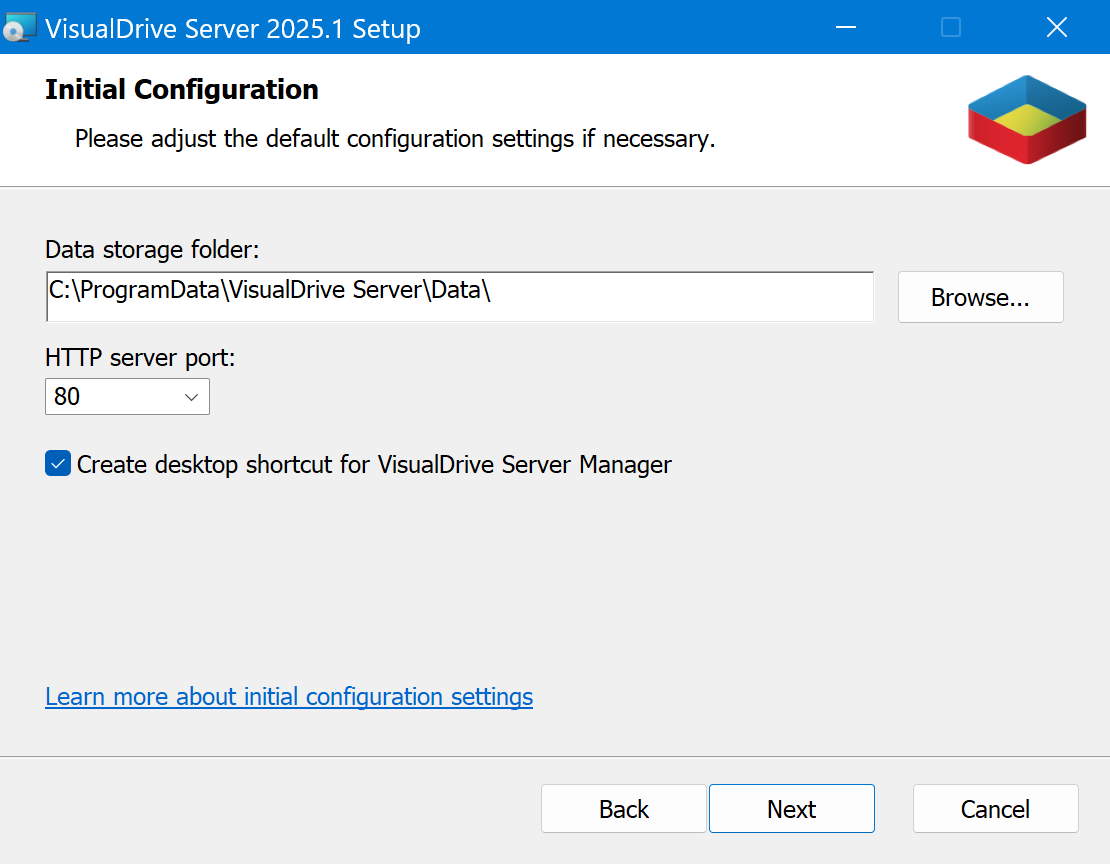
On the Initial Configuration page, adjust the following settings:
-
Data storage folder: Defines the data storage location of VisualDrive Server:
- In a production environment, select a folder that meets the Storage folder requirements.
- In a test environment, you can leave the default location.
-
HTTP server port: Typically, you can leave the default HTTP port number (80). You will be able to change the port and switch to HTTPS after the installation.
-
Create desktop shortcut for VisualDrive Server Manager: Leaving this option selected is recommended, since VisualDrive Server Manager is used to configure and maintain VisualDrive Server.
-
-
On the License Configuration page, choose to either Start 45-day evaluation or to Enter a license key.
-
On the Ready to Install page, click Install to perform the installation.
-
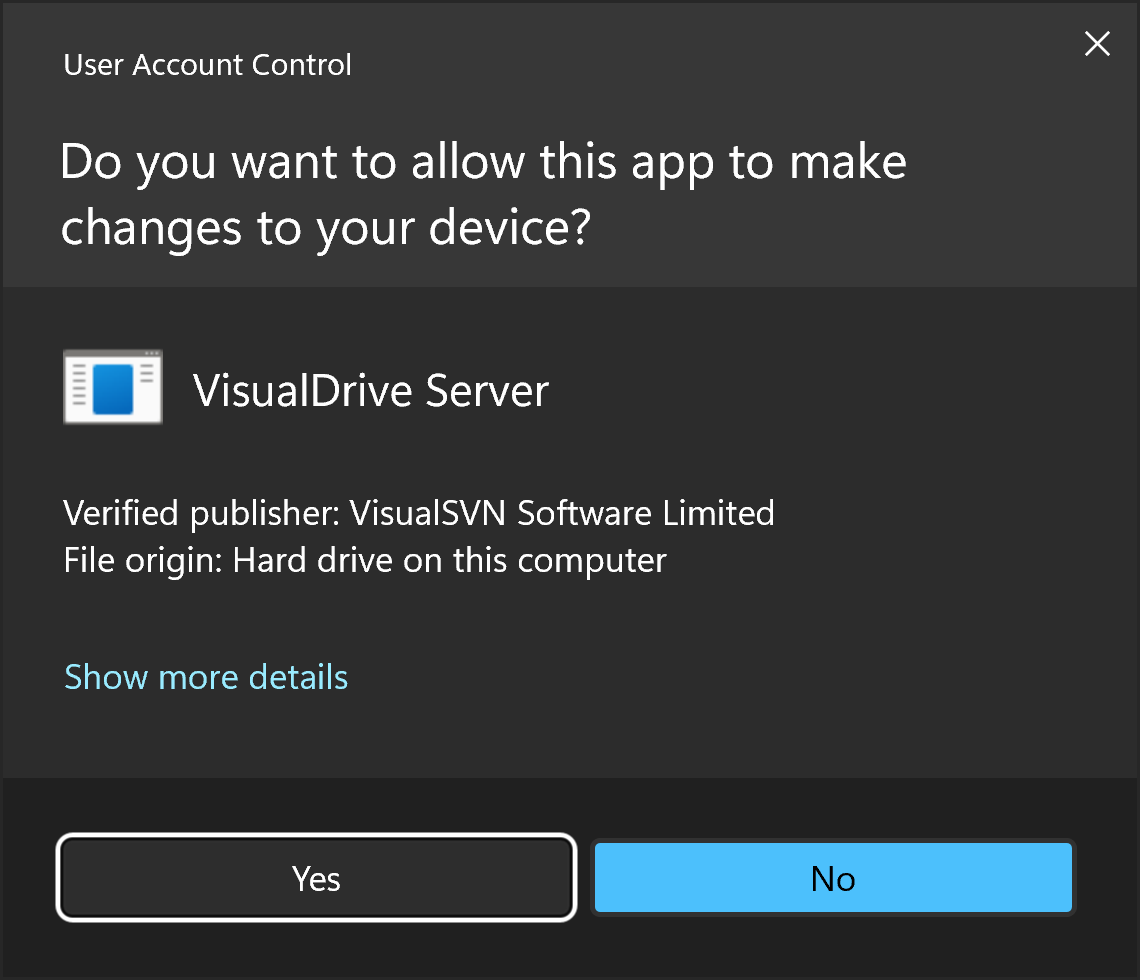
If you are prompted with the "Do you want to allow this app to make changes to your device?" message, check that the verified publisher is VisualSVN Software Limited, and click Yes to continue.